Antique Mall Booth Cedar Plank Overhaul with CedarSafe!
Hey folks! I've been super busy with some exciting projects. One most recent is a partnership with CedarSafe Natural Closet Liners. Justin with Muddy Water Resurrections shares the same area that my booth is in so we came up with using their fantastic cedar planks in a not-so-traditional way. I was in the midst of planning my booth overhaul and expansion and this was perfect timing!
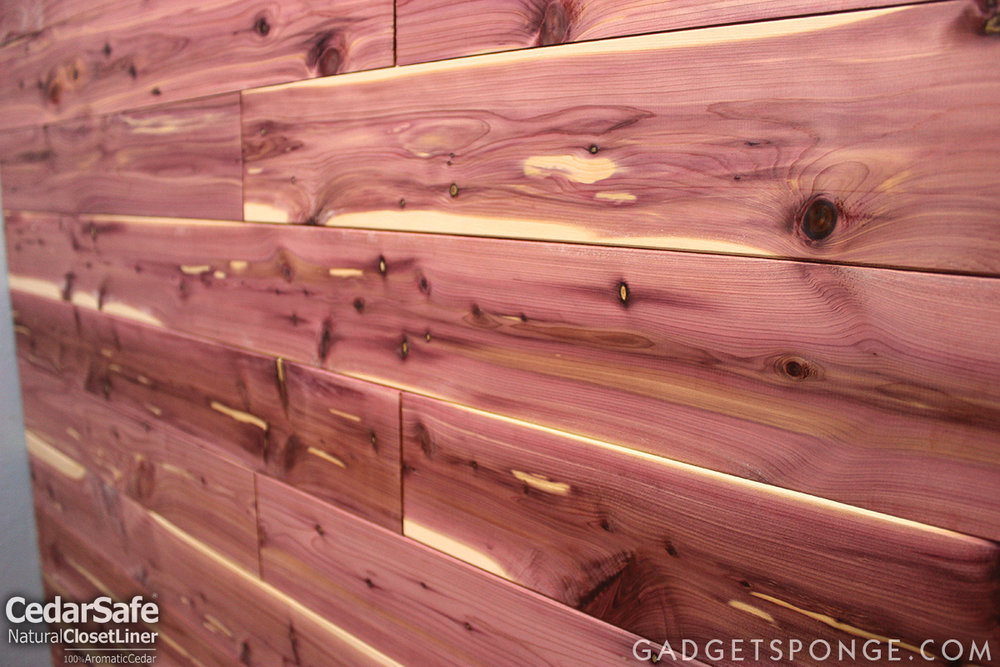
We figured using the cedar planks on the walls of our booths would bring a nice warmth to the area and would really compliment our custom creations whether they be wood, metal or custom painted pieces. There's going to be endless ways we can design our walls on top of the cedar and it'll always look welcoming. This might also give you an idea of how the cedar planks look on a large, continuous, open wall if you're thinking about it for your home!

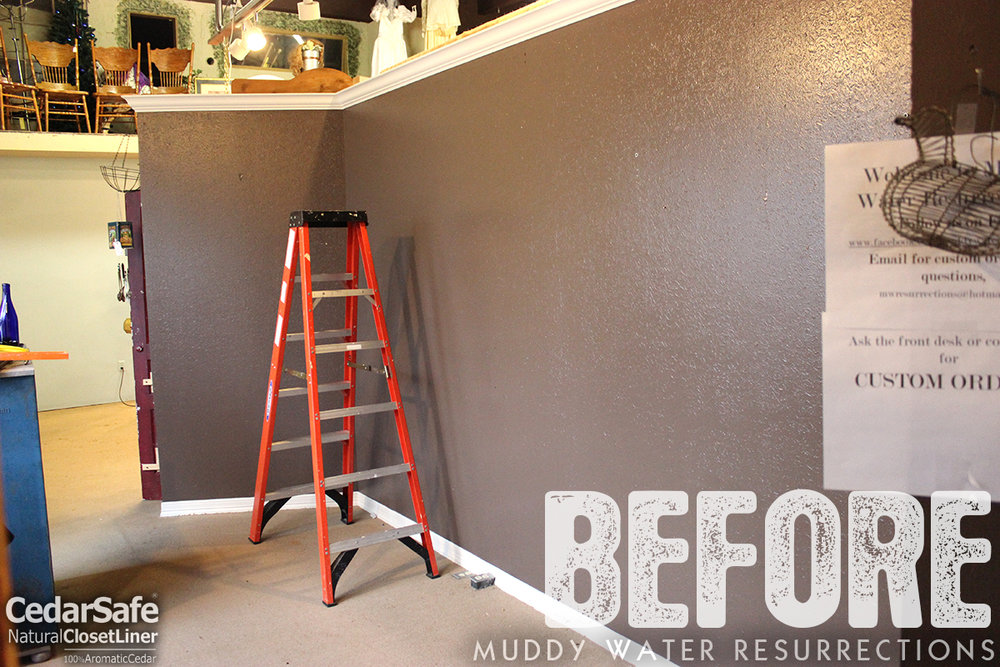
The first thing both had to do was clean out our booth walls and make some room to work.

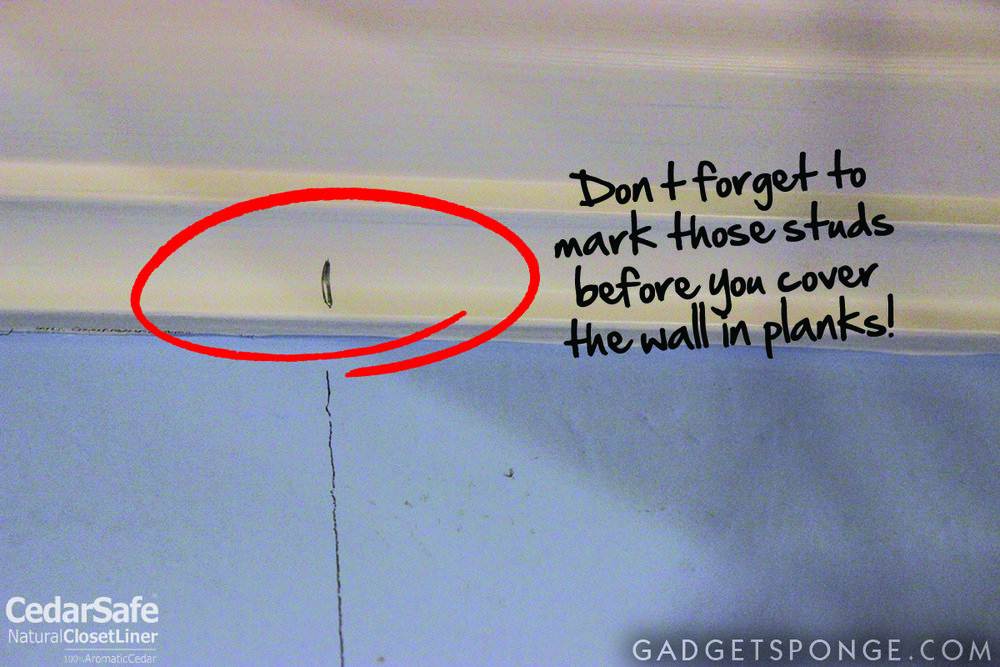
Before doing anything with the planks, it's best to do something that will save you time and lots of future headaches. We found our studs in the walls and used a level to mark that line all the way down. We definitely wanted to focus our brad and staple nailers on the stud locations.
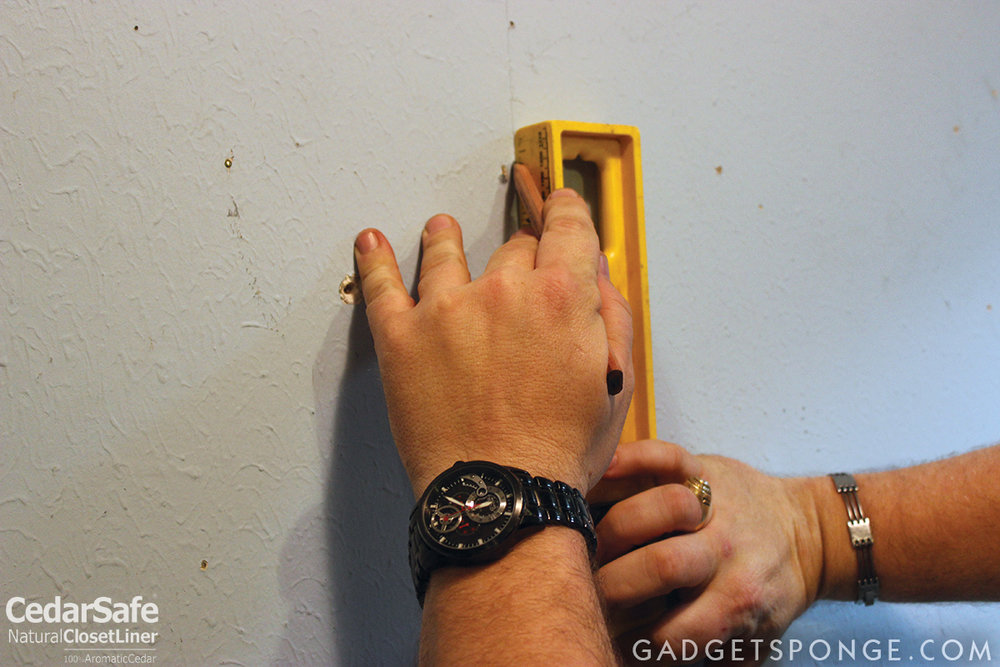
Be sure to mark where those studs are with a discreet mark on the moulding so you know immediately where your studs are when hanging heavier objects so you can tie into those studs.
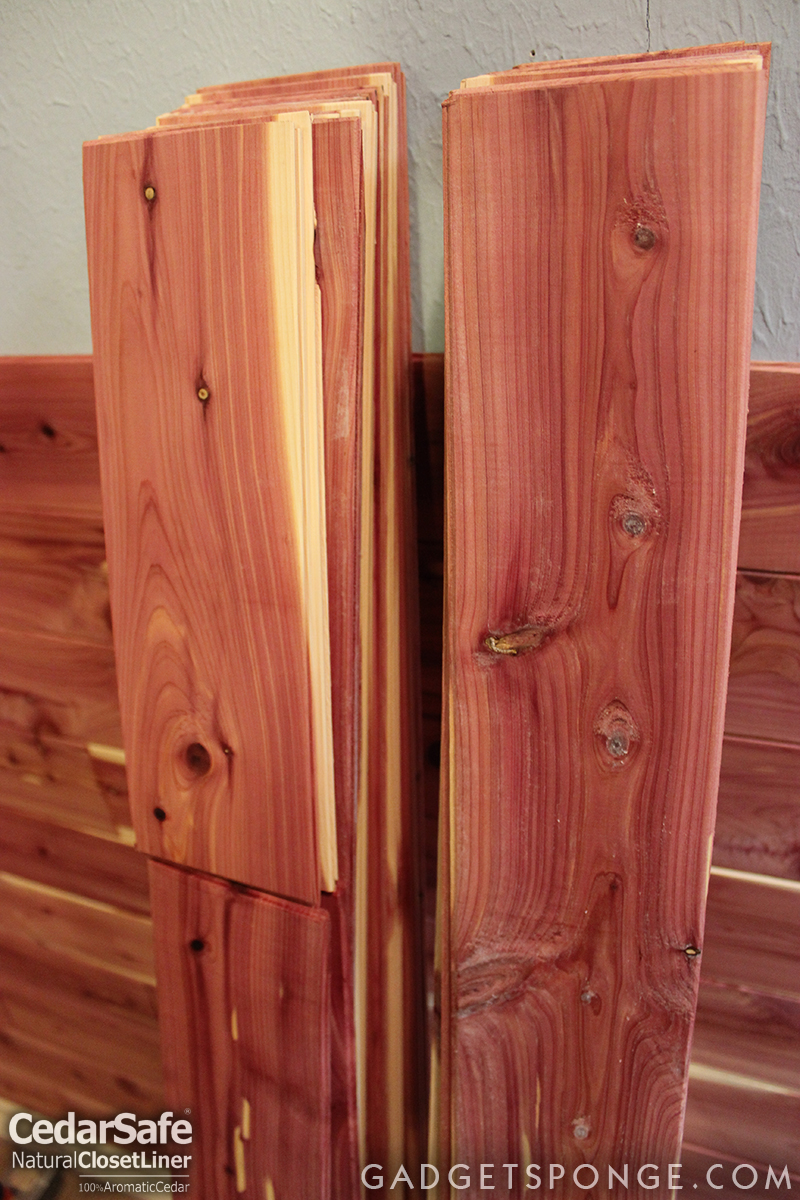
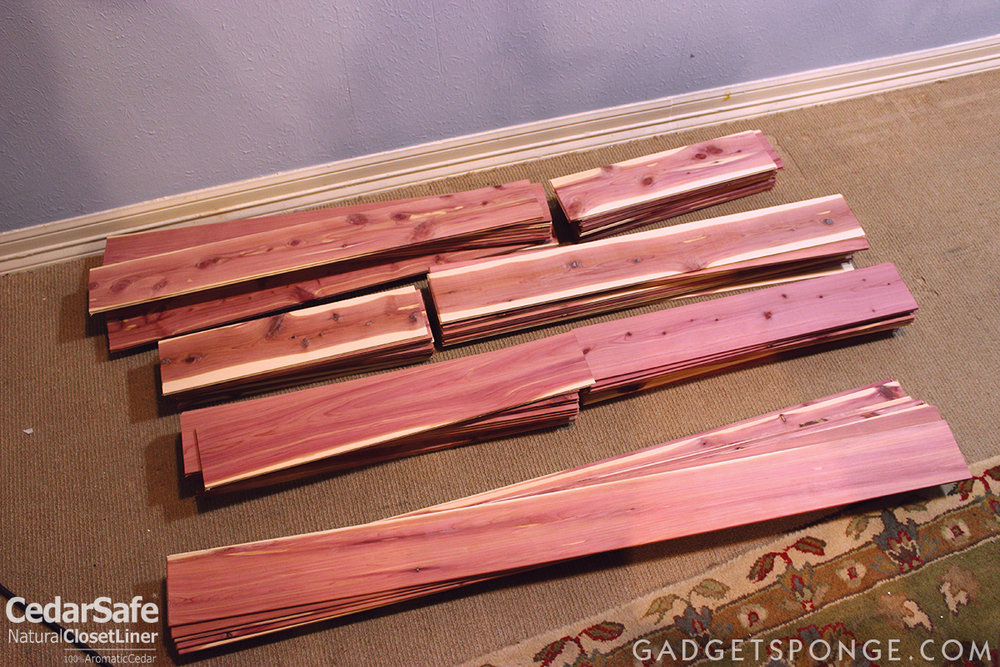
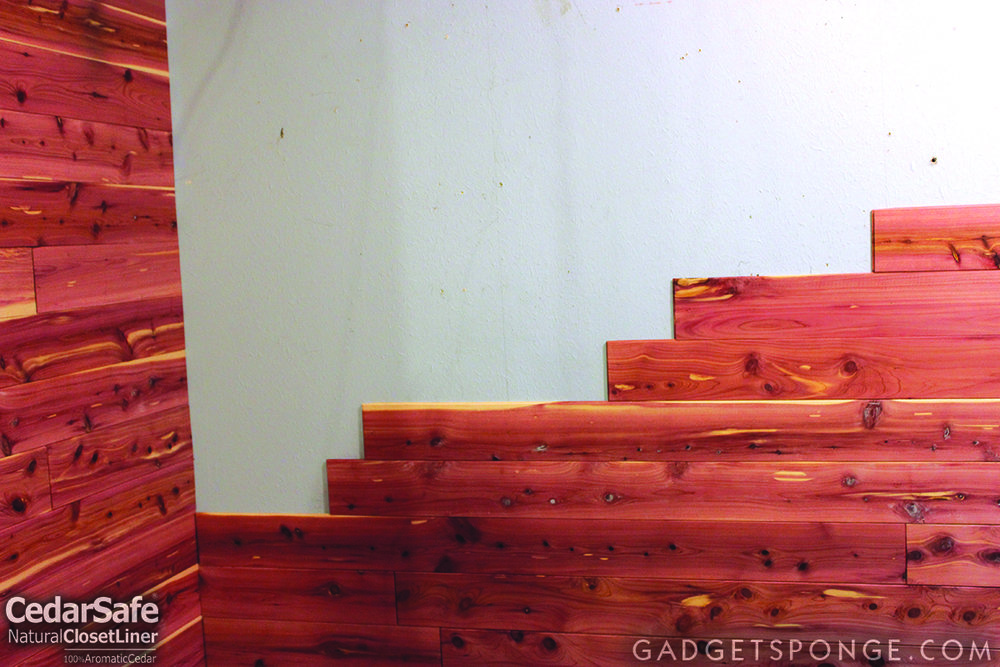
Straight out of the box CedarSafe has a few planks cut at different lengths to give you some automatic variations in where the planks meet to set a good pattern. We decided to cut all our planks at center and about a quarter the distance on both ends so we would have a 4 part plank pattern on our side walls.
We had never installed cedar planks before but it was a breeze. All the grooves were perfect and the wood is very easy to cut.
When you start your first planks at the bottom of your wall, make sure to check that your baseboard or floor (if installing behind baseboards) is perfectly level. If it's not and is a little off, draw a line across your wall with a long level to use as a guide for your first row of planks.
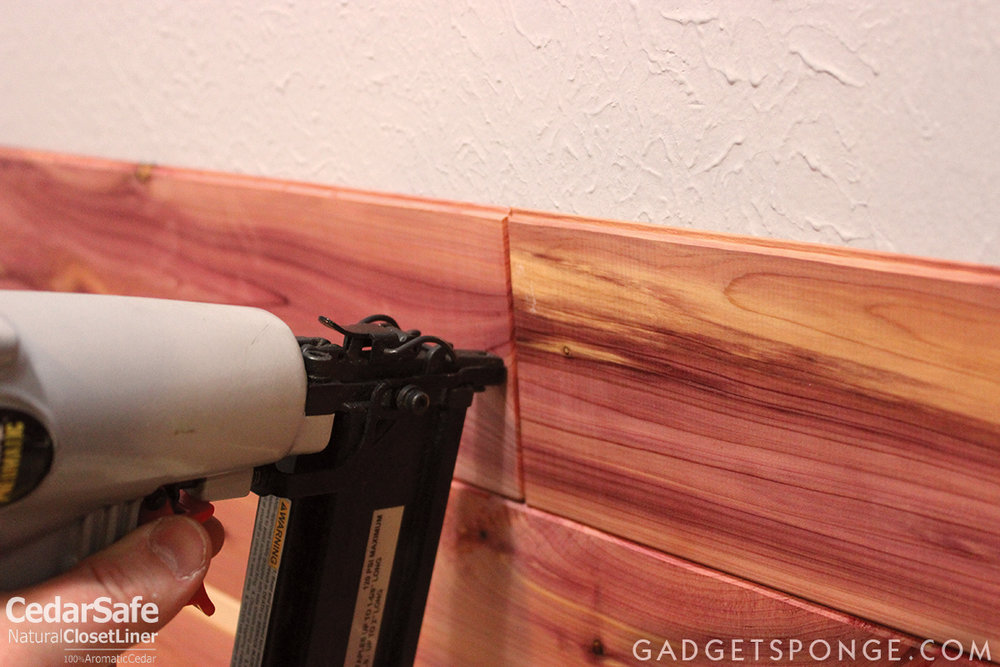
Now, it was time to get busy with those pneumatic nailers! We used 2 inch brads and 1.5" staples. Here I am on my side starting one of my side walls.
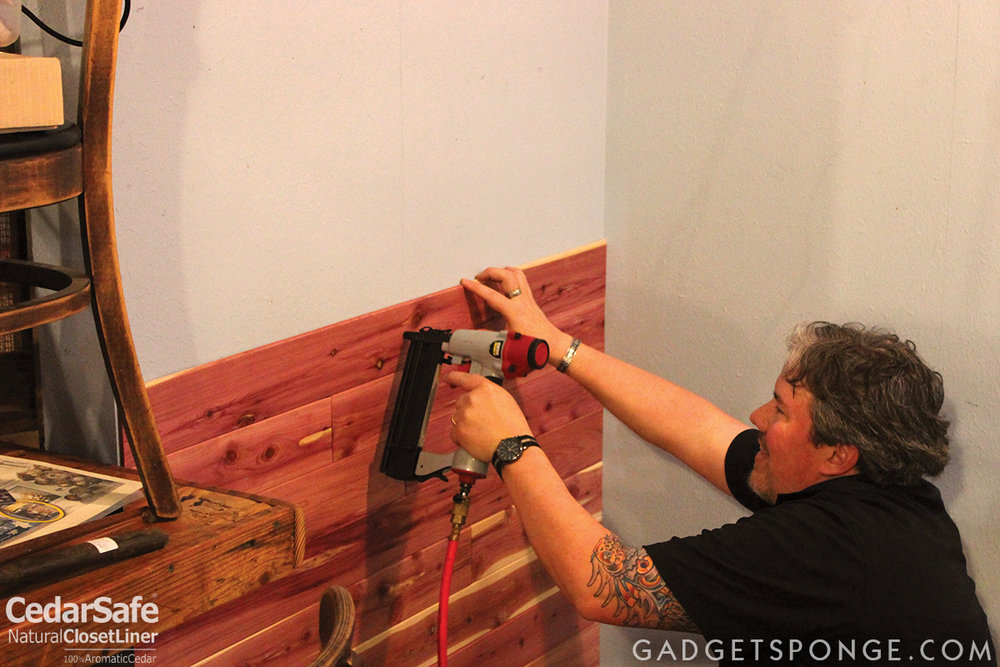
We hit the boards at the studs and also on each end. We used a fourth staple or brad on the full-length planks.
From this point on, it's pretty easy to get a pretty good speed going. You just want to make sure that each plank you put up falls into the lower planks grooves flush. Otherwise your plank lines will start looking crooked.
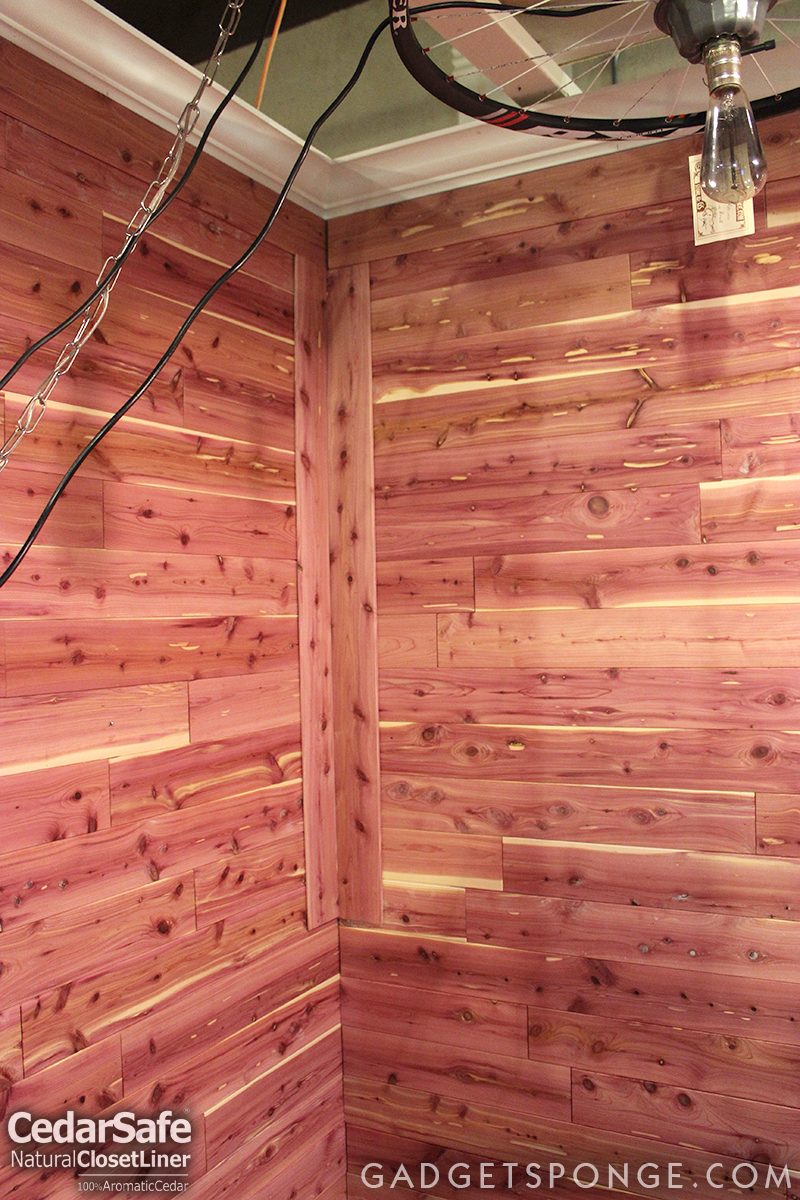
When you are working in your corners be sure try and get your plank lines to match up at each run. When you start getting higher and higher it may tend to get just a little off but that's fine.
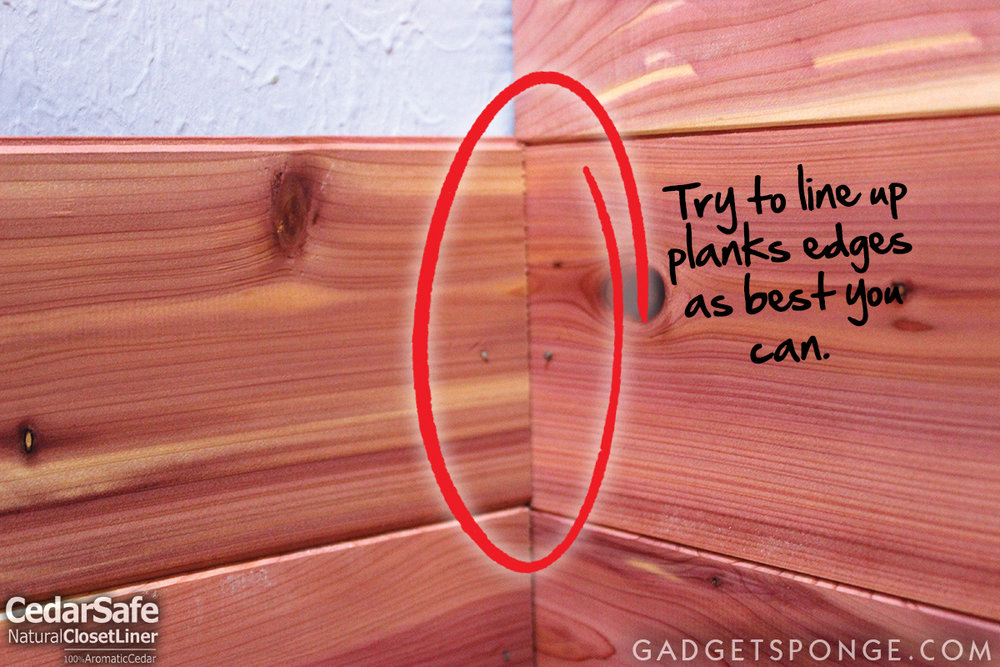
Before you get too far, remember to match up your outside boards where it's most visible. Sometimes your cuts aren't going to be perfect and that's okay. You can cover your inner corner with trim boards to hide your rough cuts.

Justin and I would have four to five board runs going at one time. This would allow you make four to five specific cuts at one time when going to your saw.
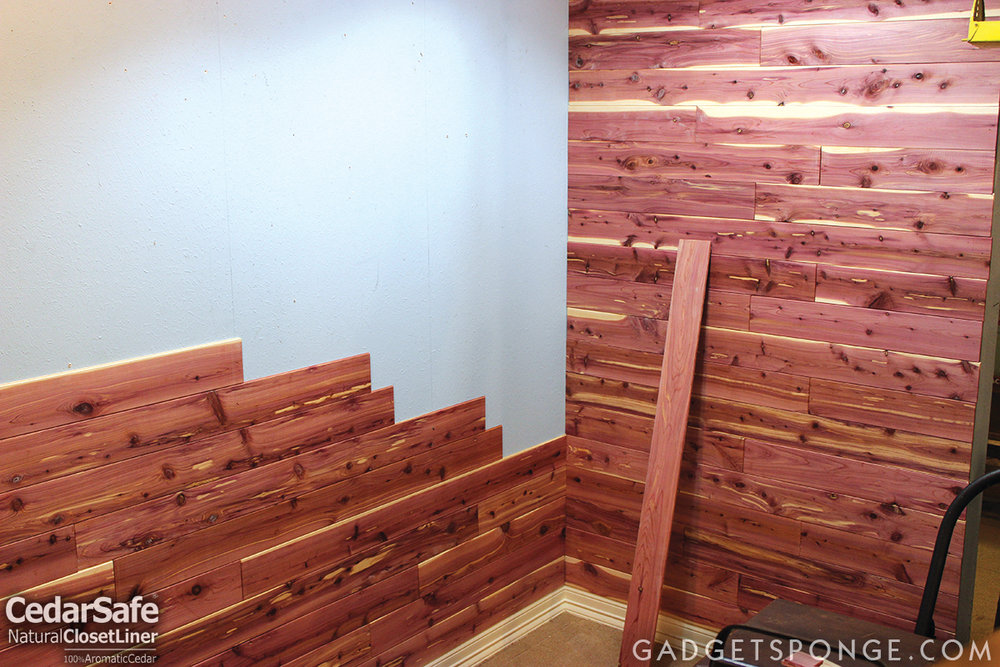
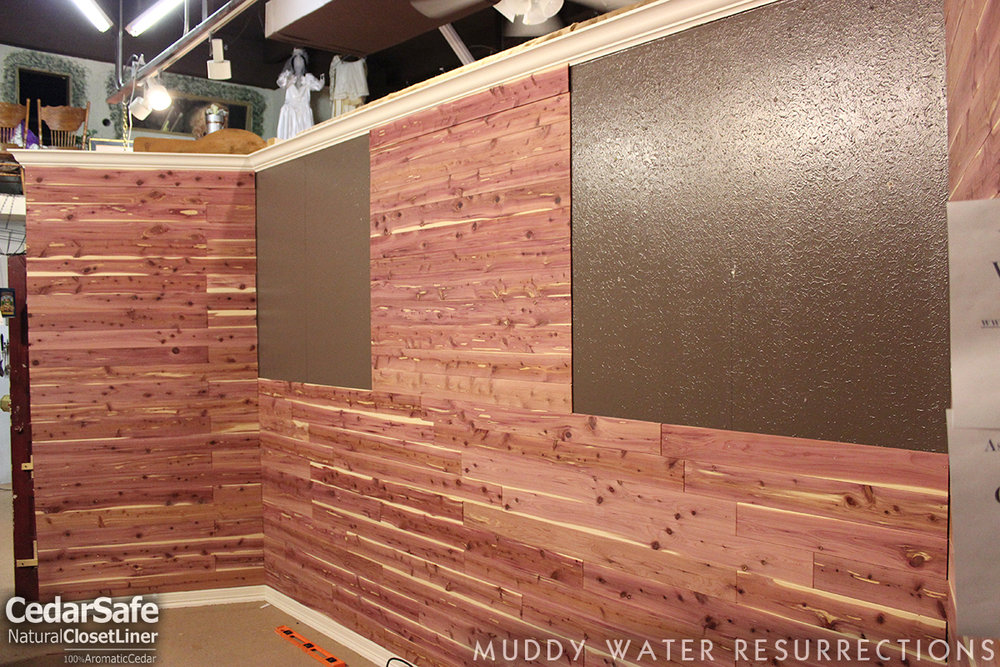
Here, you can see one of Justin's walls completed. For a booth design like we are doing here, a single wall done this way could be all that you do to build contrast with your walls or to split up different areas you want features in different ways.

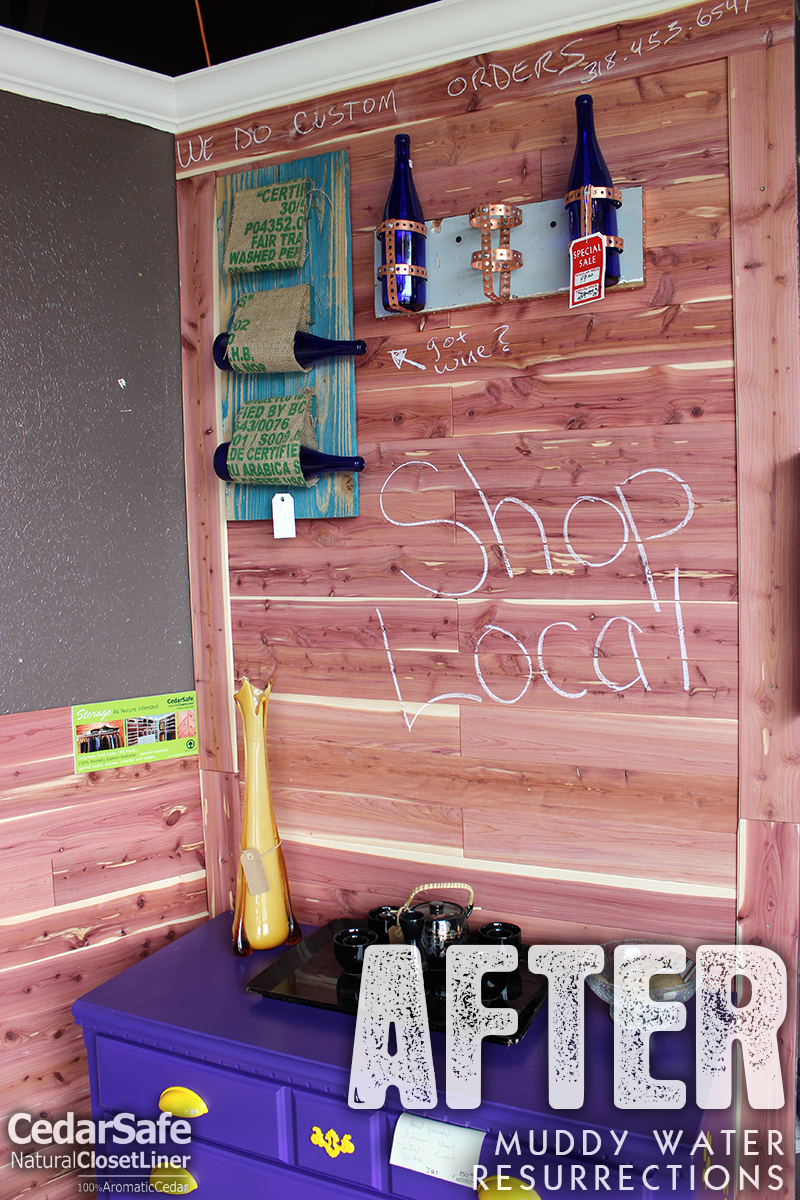
Justin decided to create two "frames" on his wall to spotlight certain creations in his booth.

In the corners we decided to use some extra planks to hide the raw corner cuts and to give it a somewhat rustic vibe (maybe!?! haha). But it definitely worked out. You could do this or you could use original trim pieces to match the size needed in your corners and across the top if needed.
And here is my completed wall! What a dramatic change...


And here's Justin's walls....

We were very impressed by the final appearance and the soft cedar aroma. It wasn't overpowering but just right.
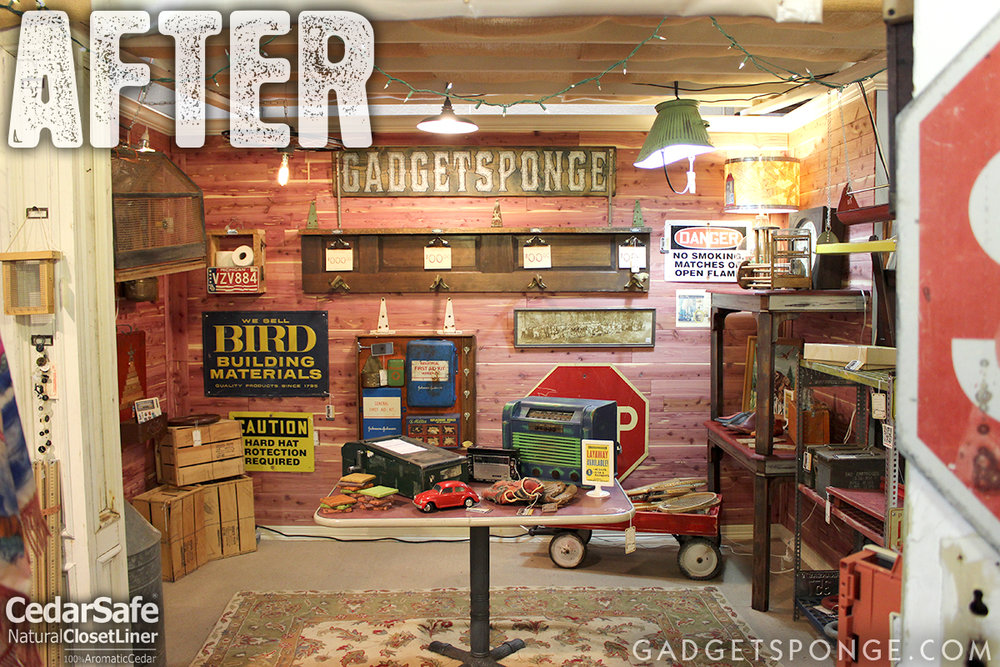
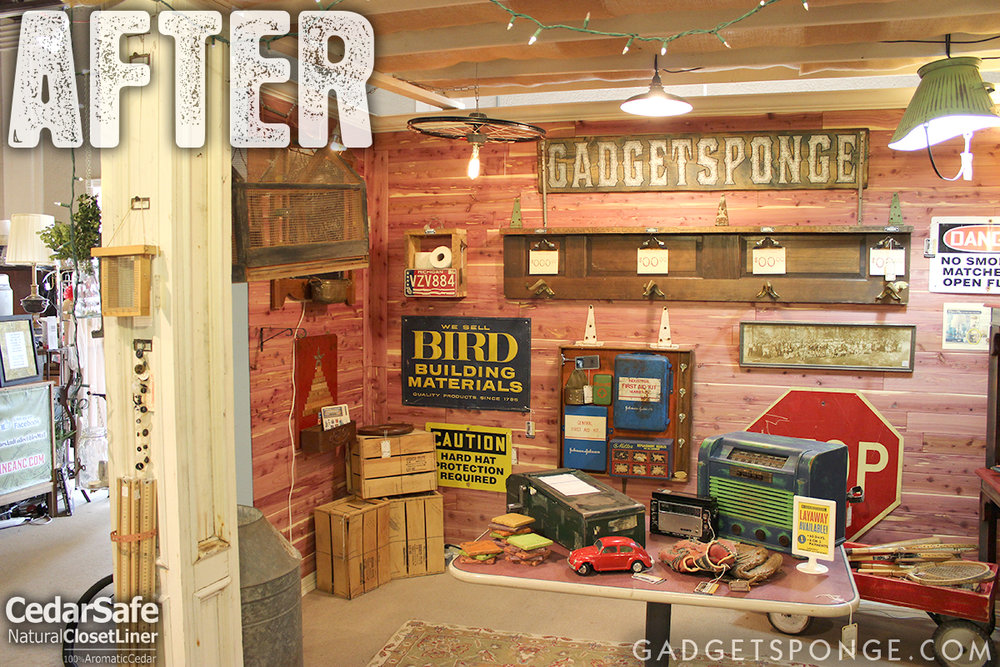
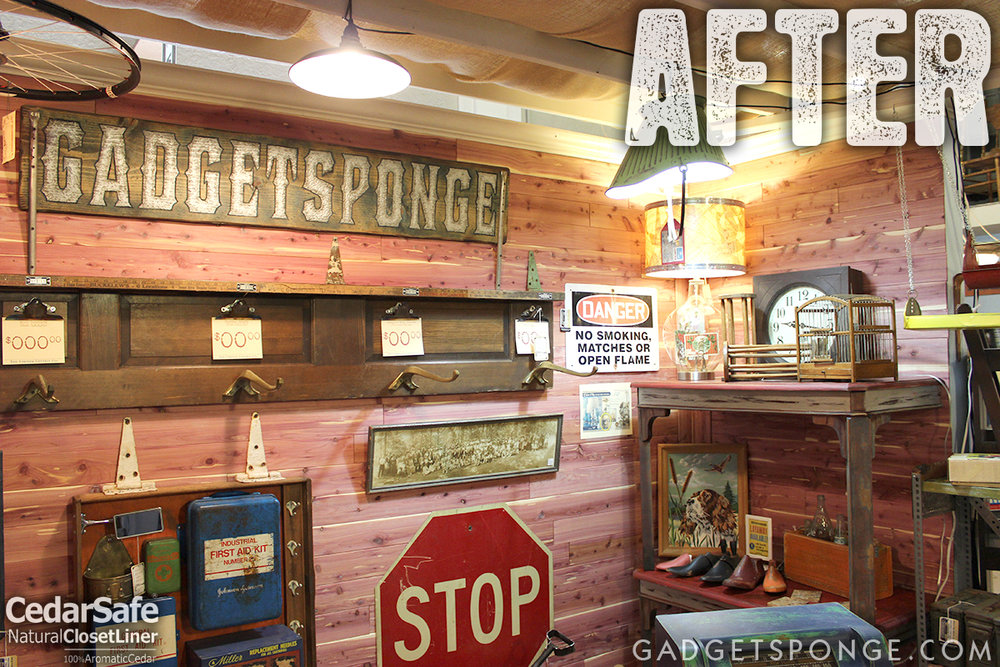
And here's some completed pictures in my GadgetSponge booth with the new, beautiful cedar plank walls...

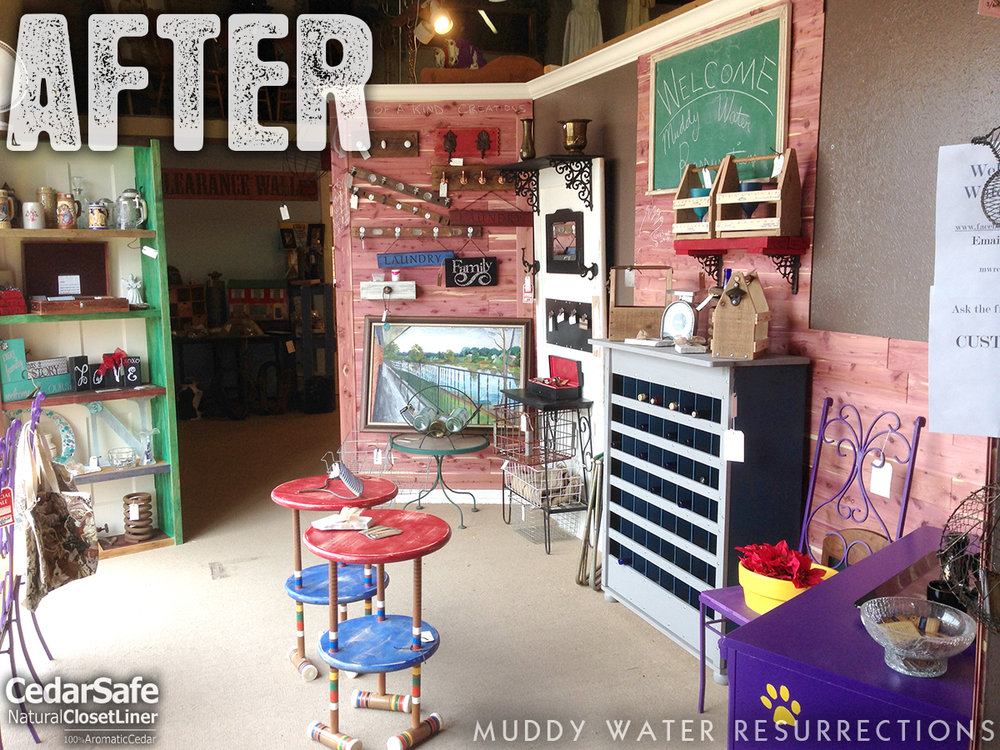
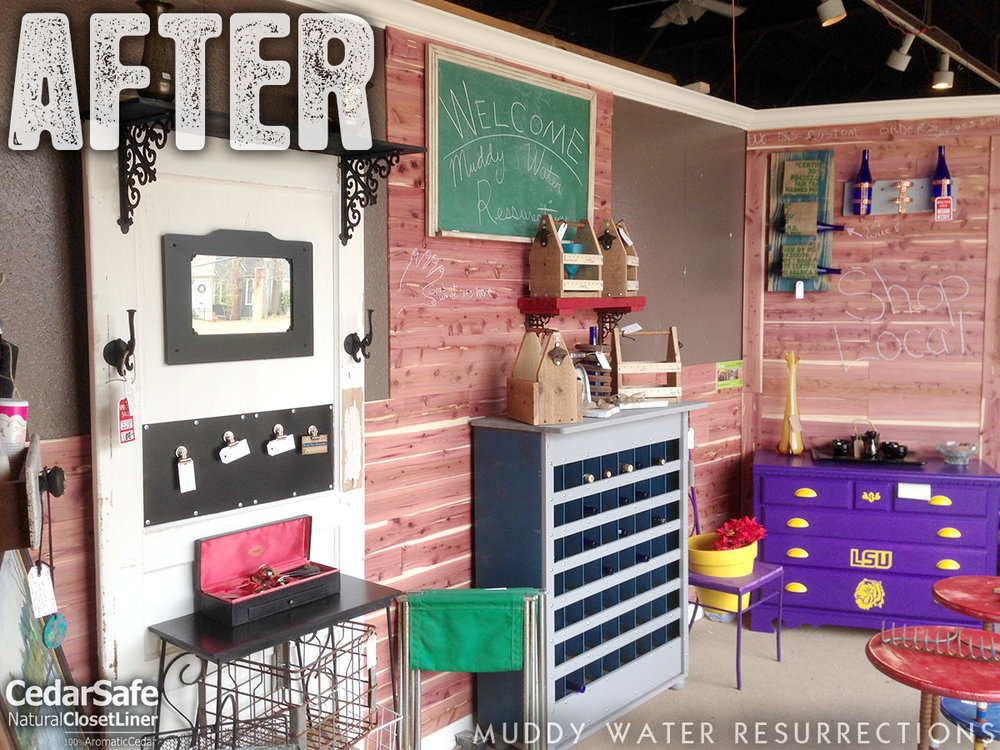
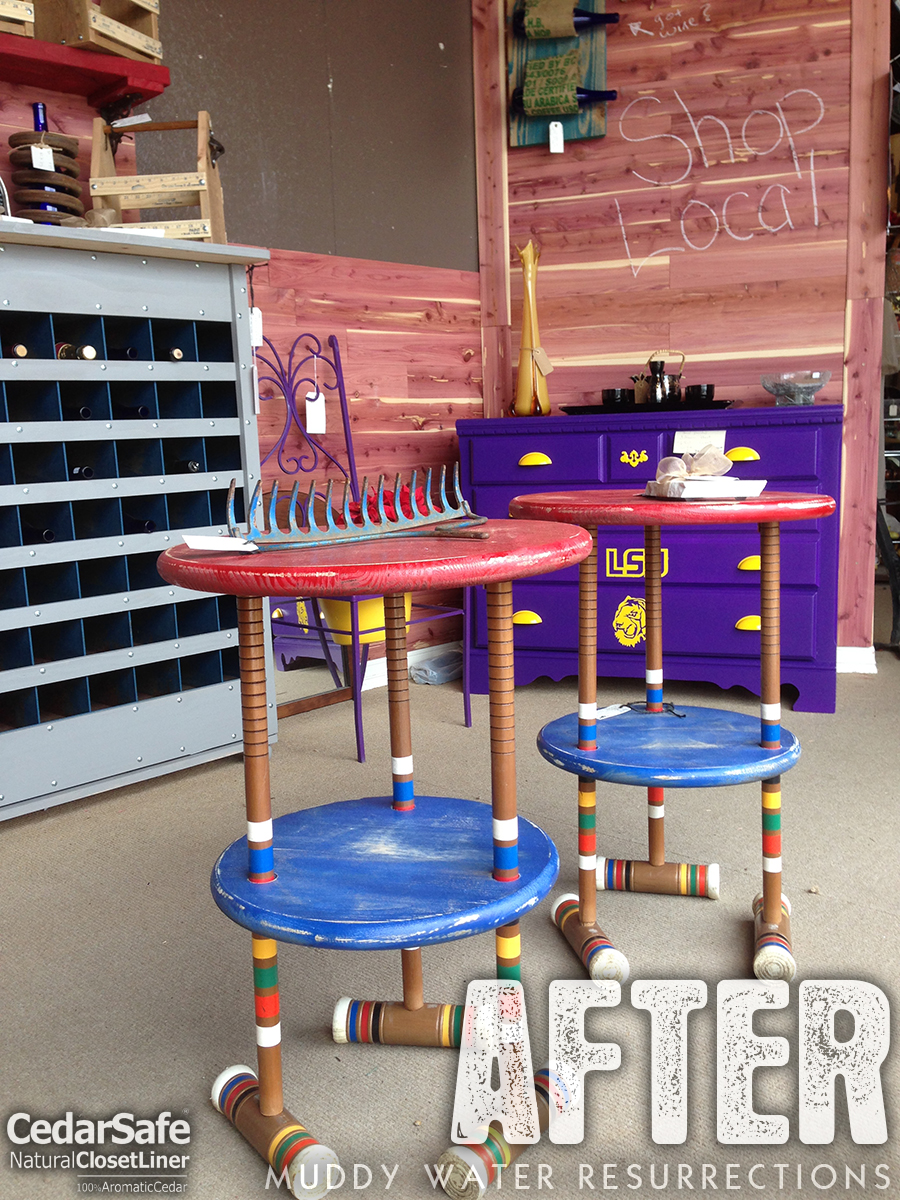
AND here's the final Muddy Water Resurrections booth!...
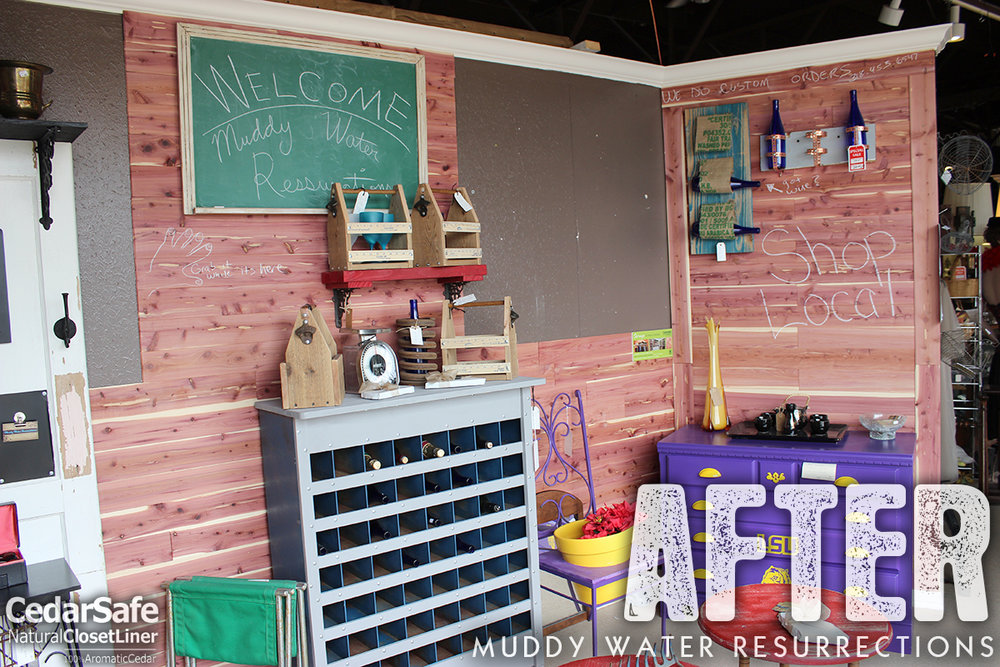
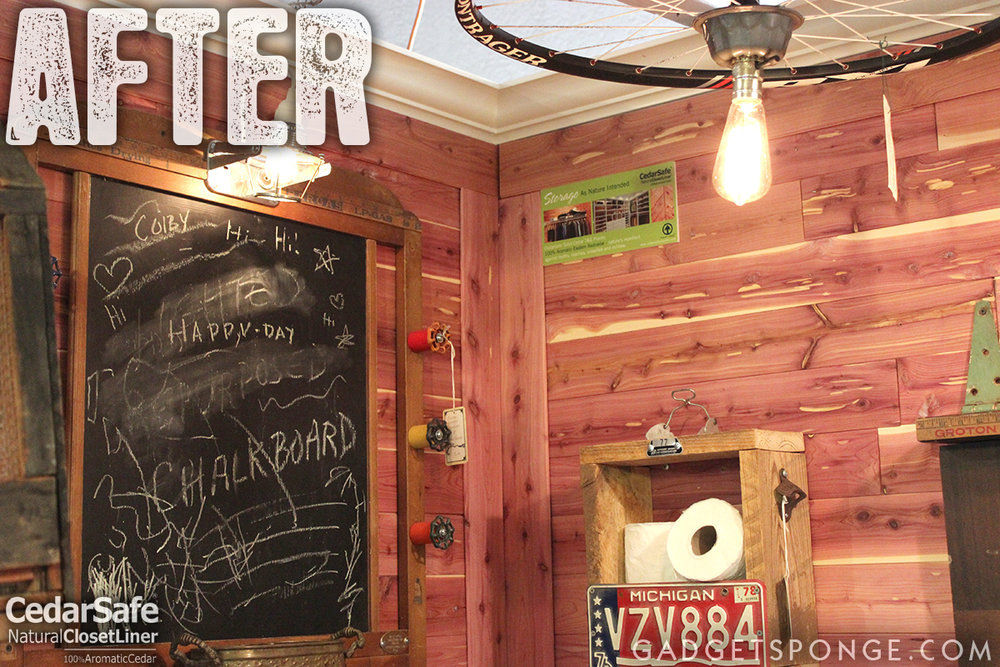
Justin had the great idea to use chalk to write custom messages on the wall. It wipes right off easily!...
Thanks so much CedarSafe for the opportunity to partner up and do something a little different. We already gotten many favorable compliments on the new booth designs and look forward to experimenting more with the walls as we move forward!